Carlikeit MT2 Motorcycle Wireless Carplay&Android Auto Screen
- Regular price
-
$89.99 - Regular price
-
$115.95 - Sale price
-
$89.99
Apple CarPlay Integration
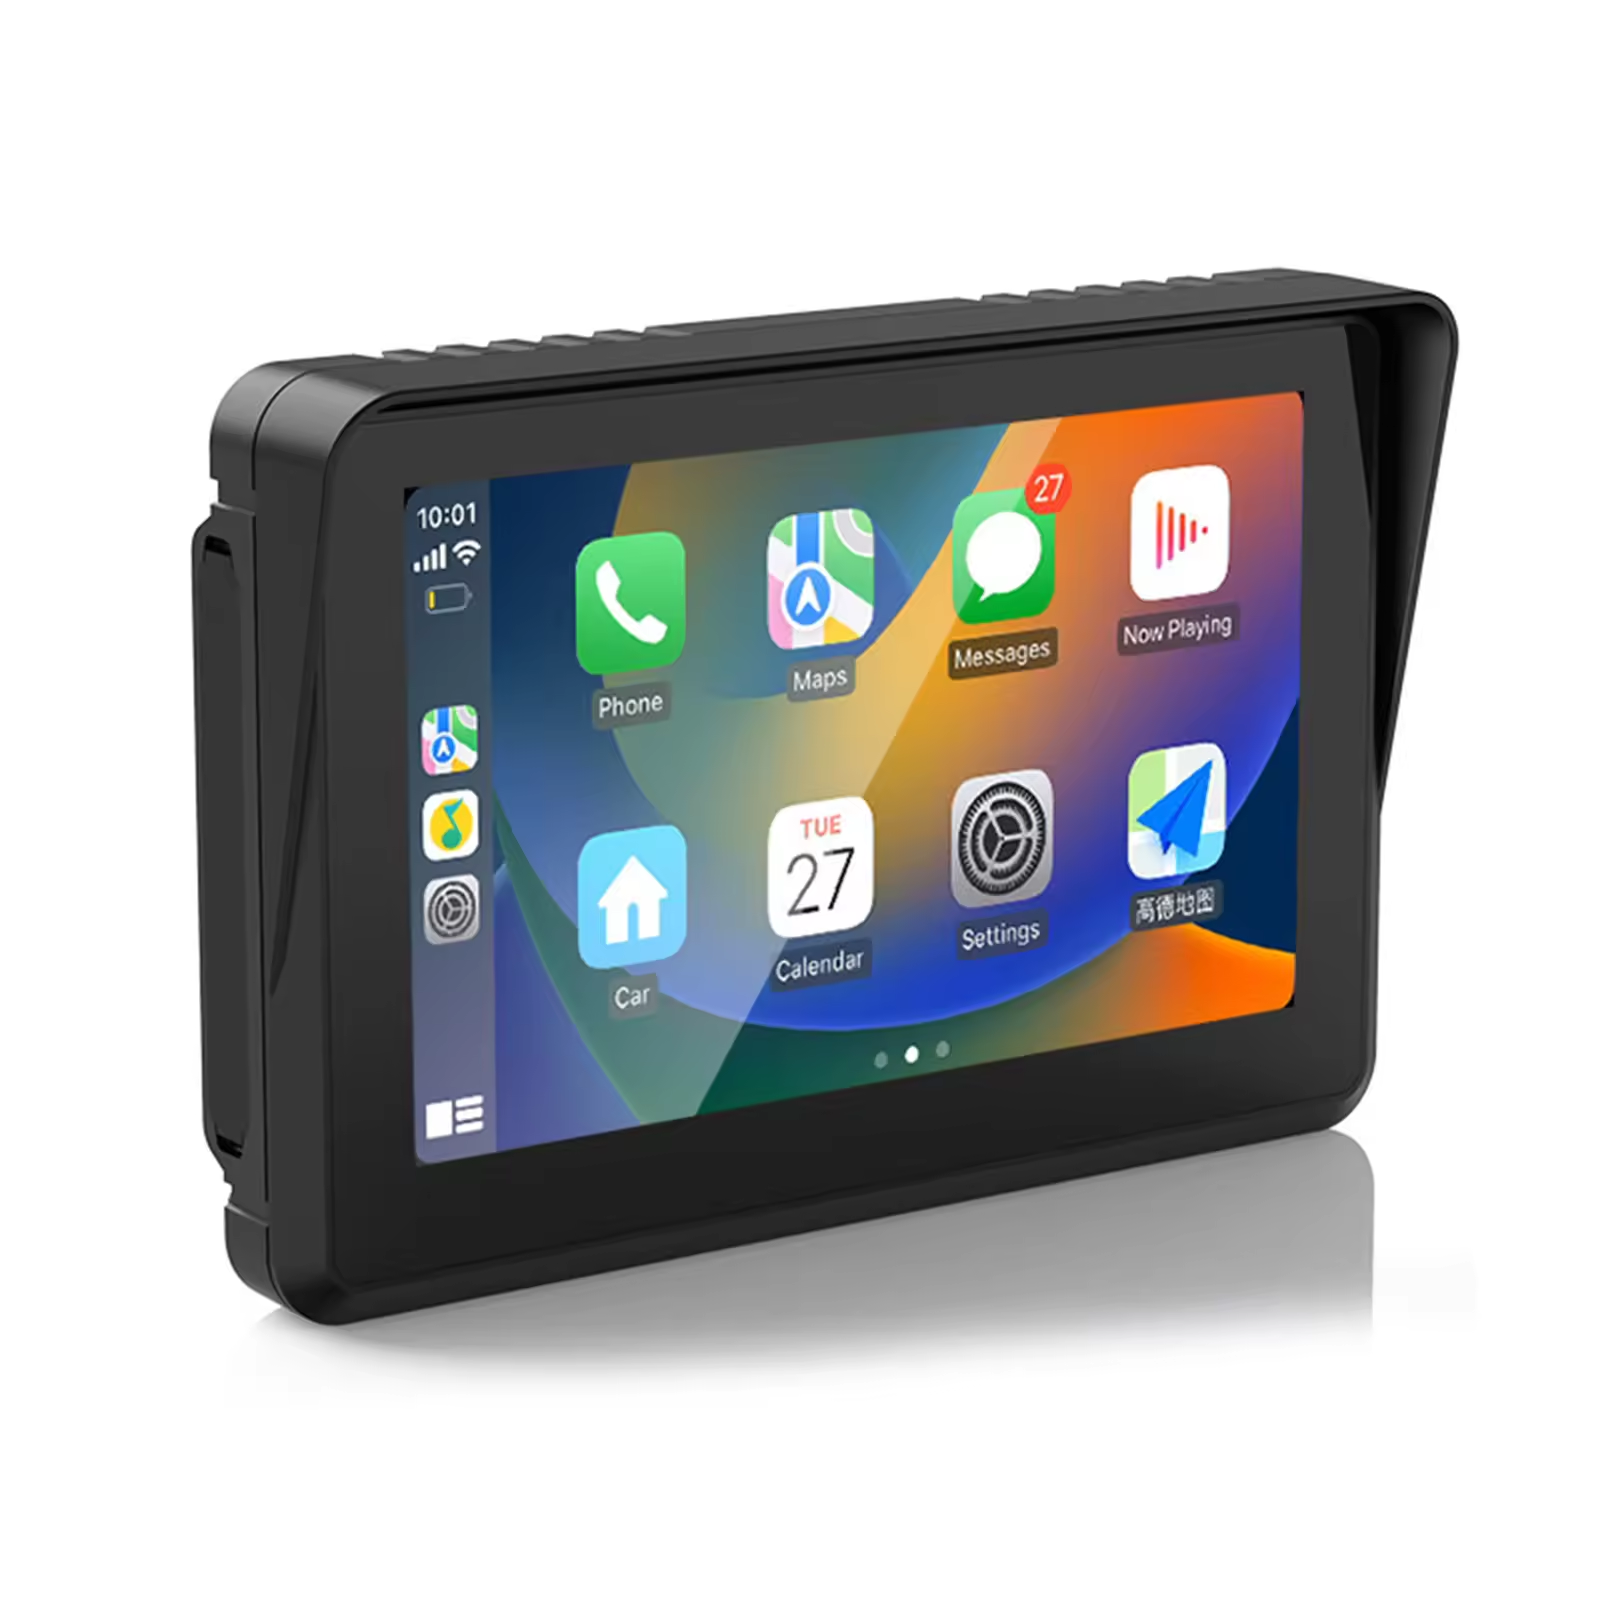
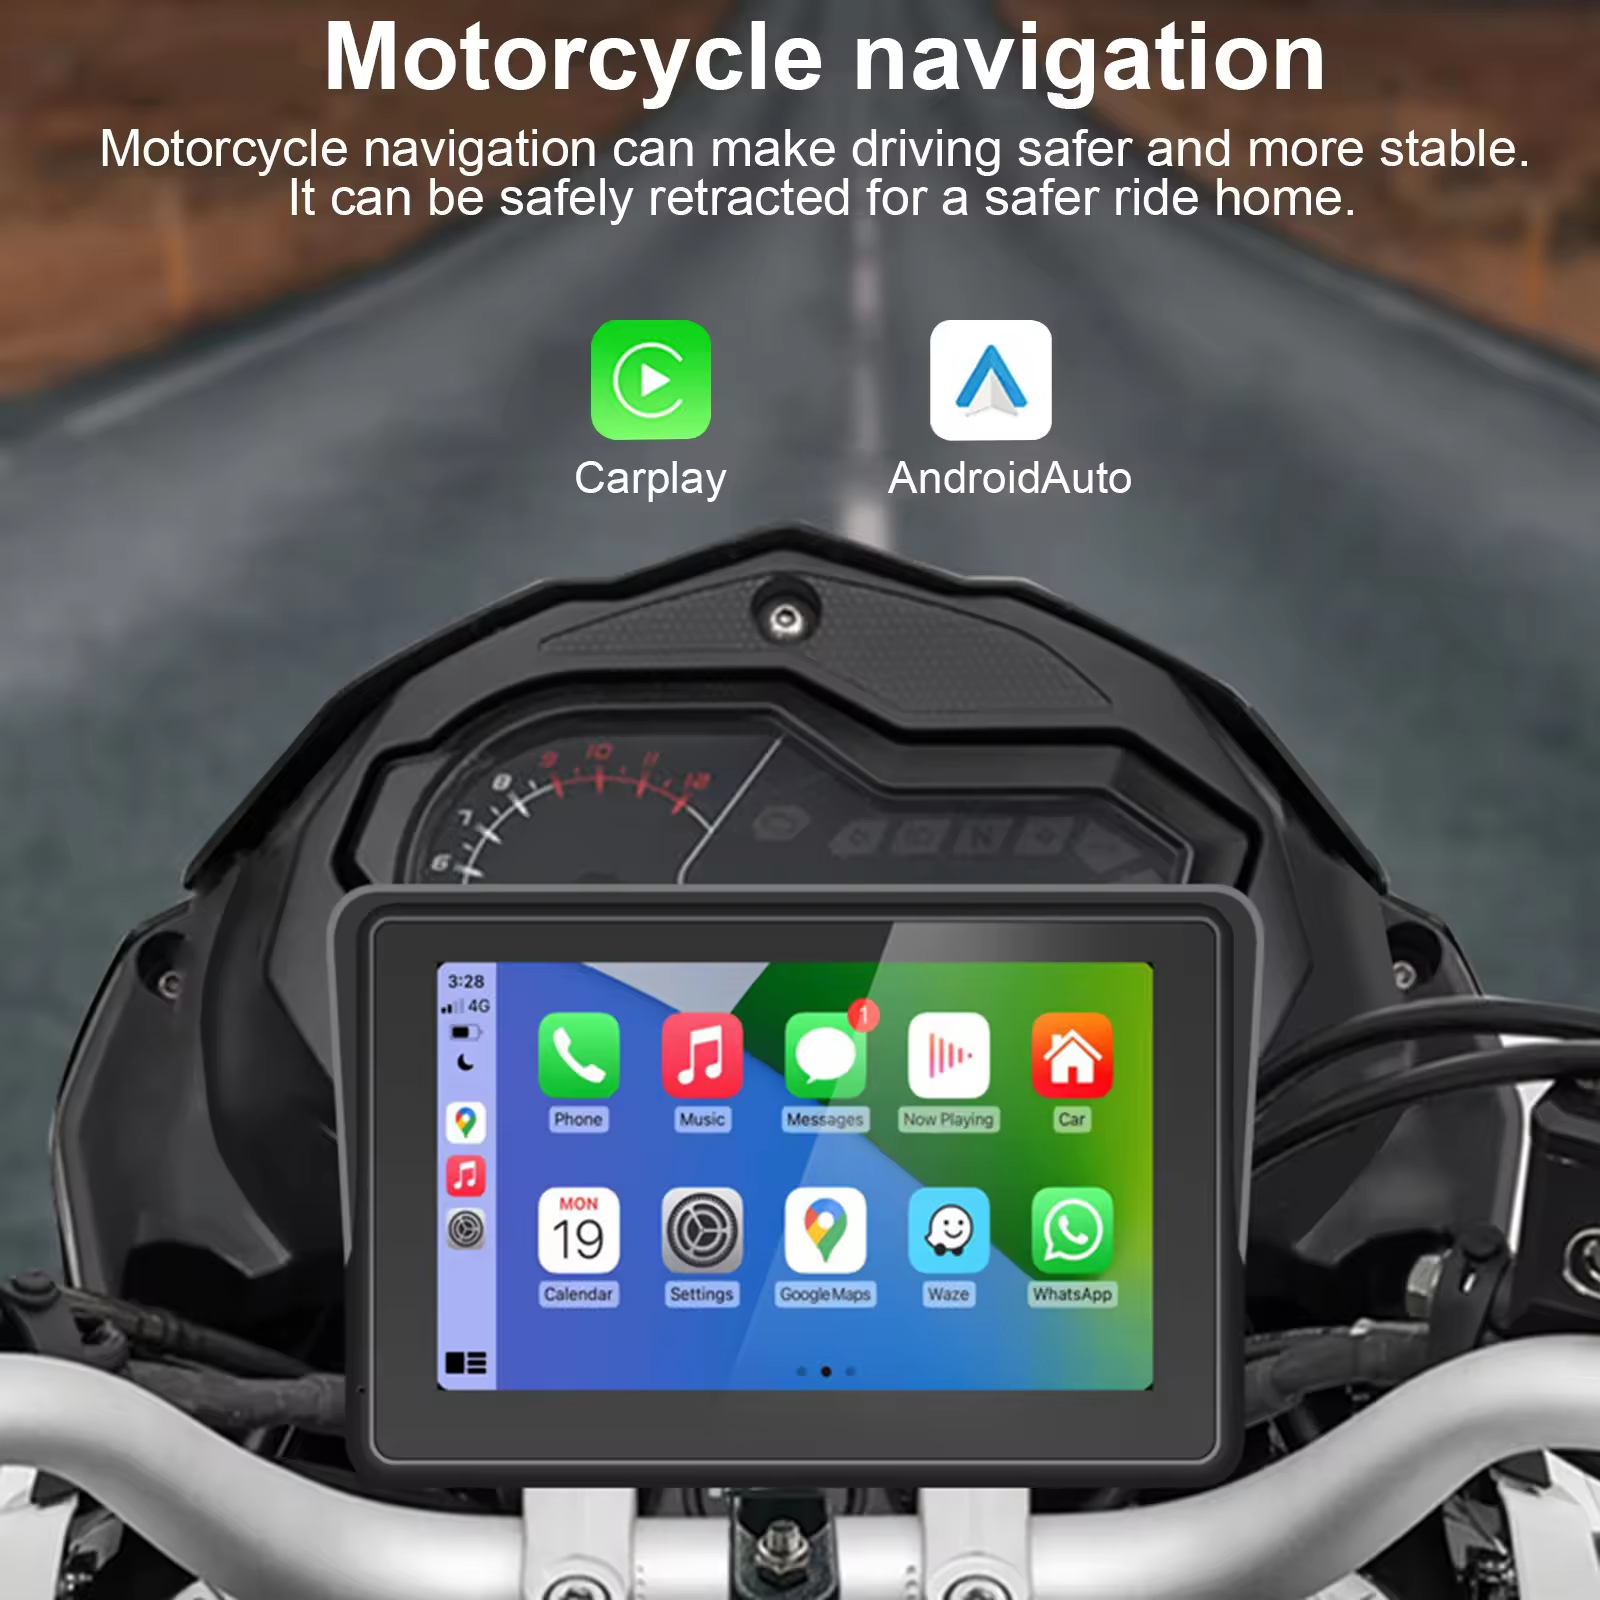
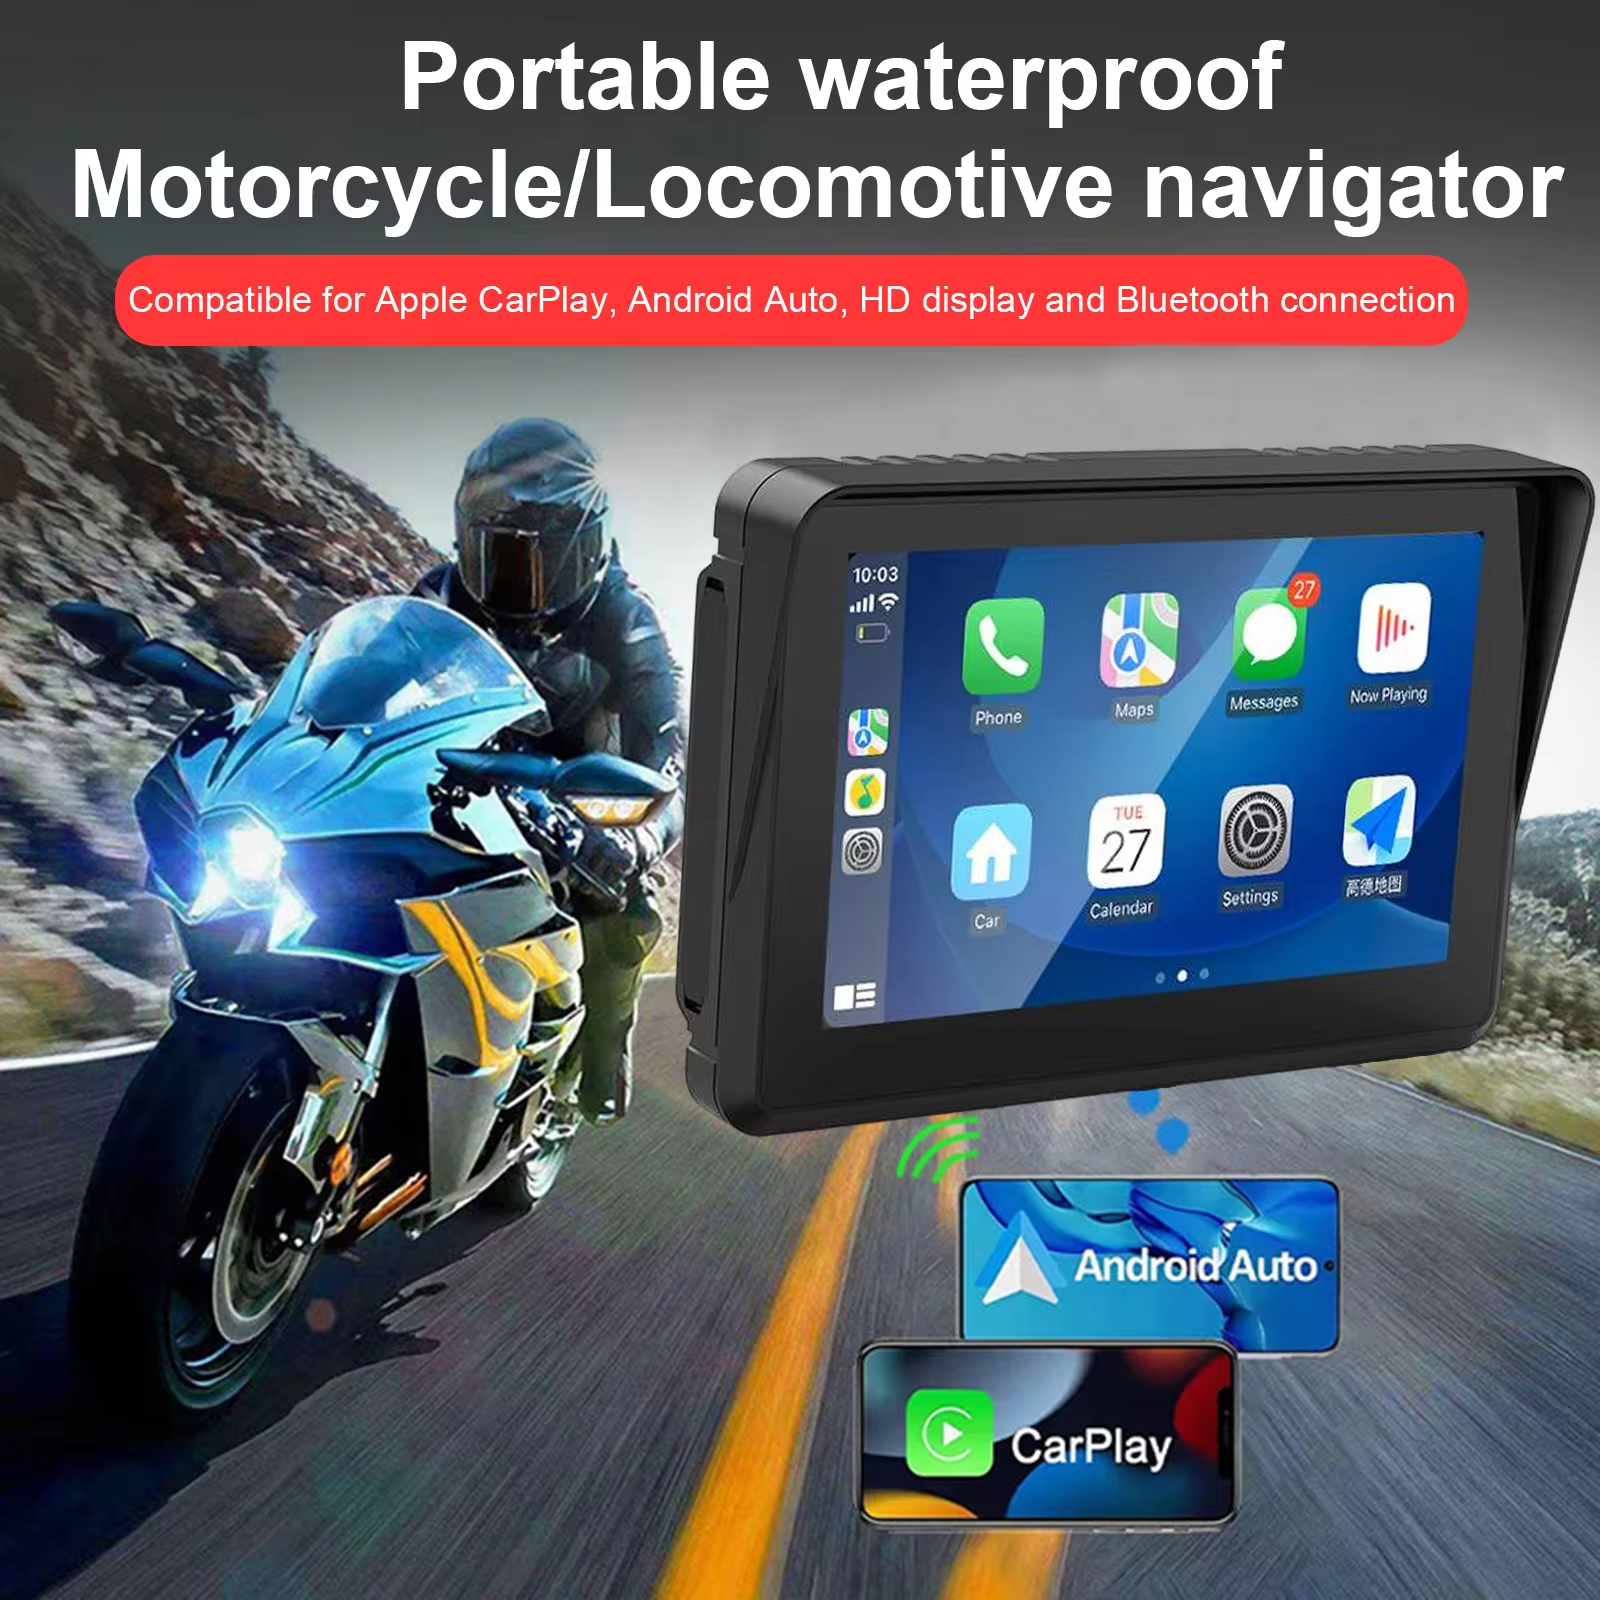
The Motorcycle CarPlay Screen allows you to easily connect your iPhone, enabling navigation, music playback, phone calls, and message reading—all while keeping your hands on the handlebars for a safer ride.
High-Definition Touchscreen
Equipped with a high-brightness HD touchscreen, the Motorcycle CarPlay Screen remains visible even in direct sunlight. Its responsive touch controls ensure easy operation, even while on the move.
IP67 Waterproof Design
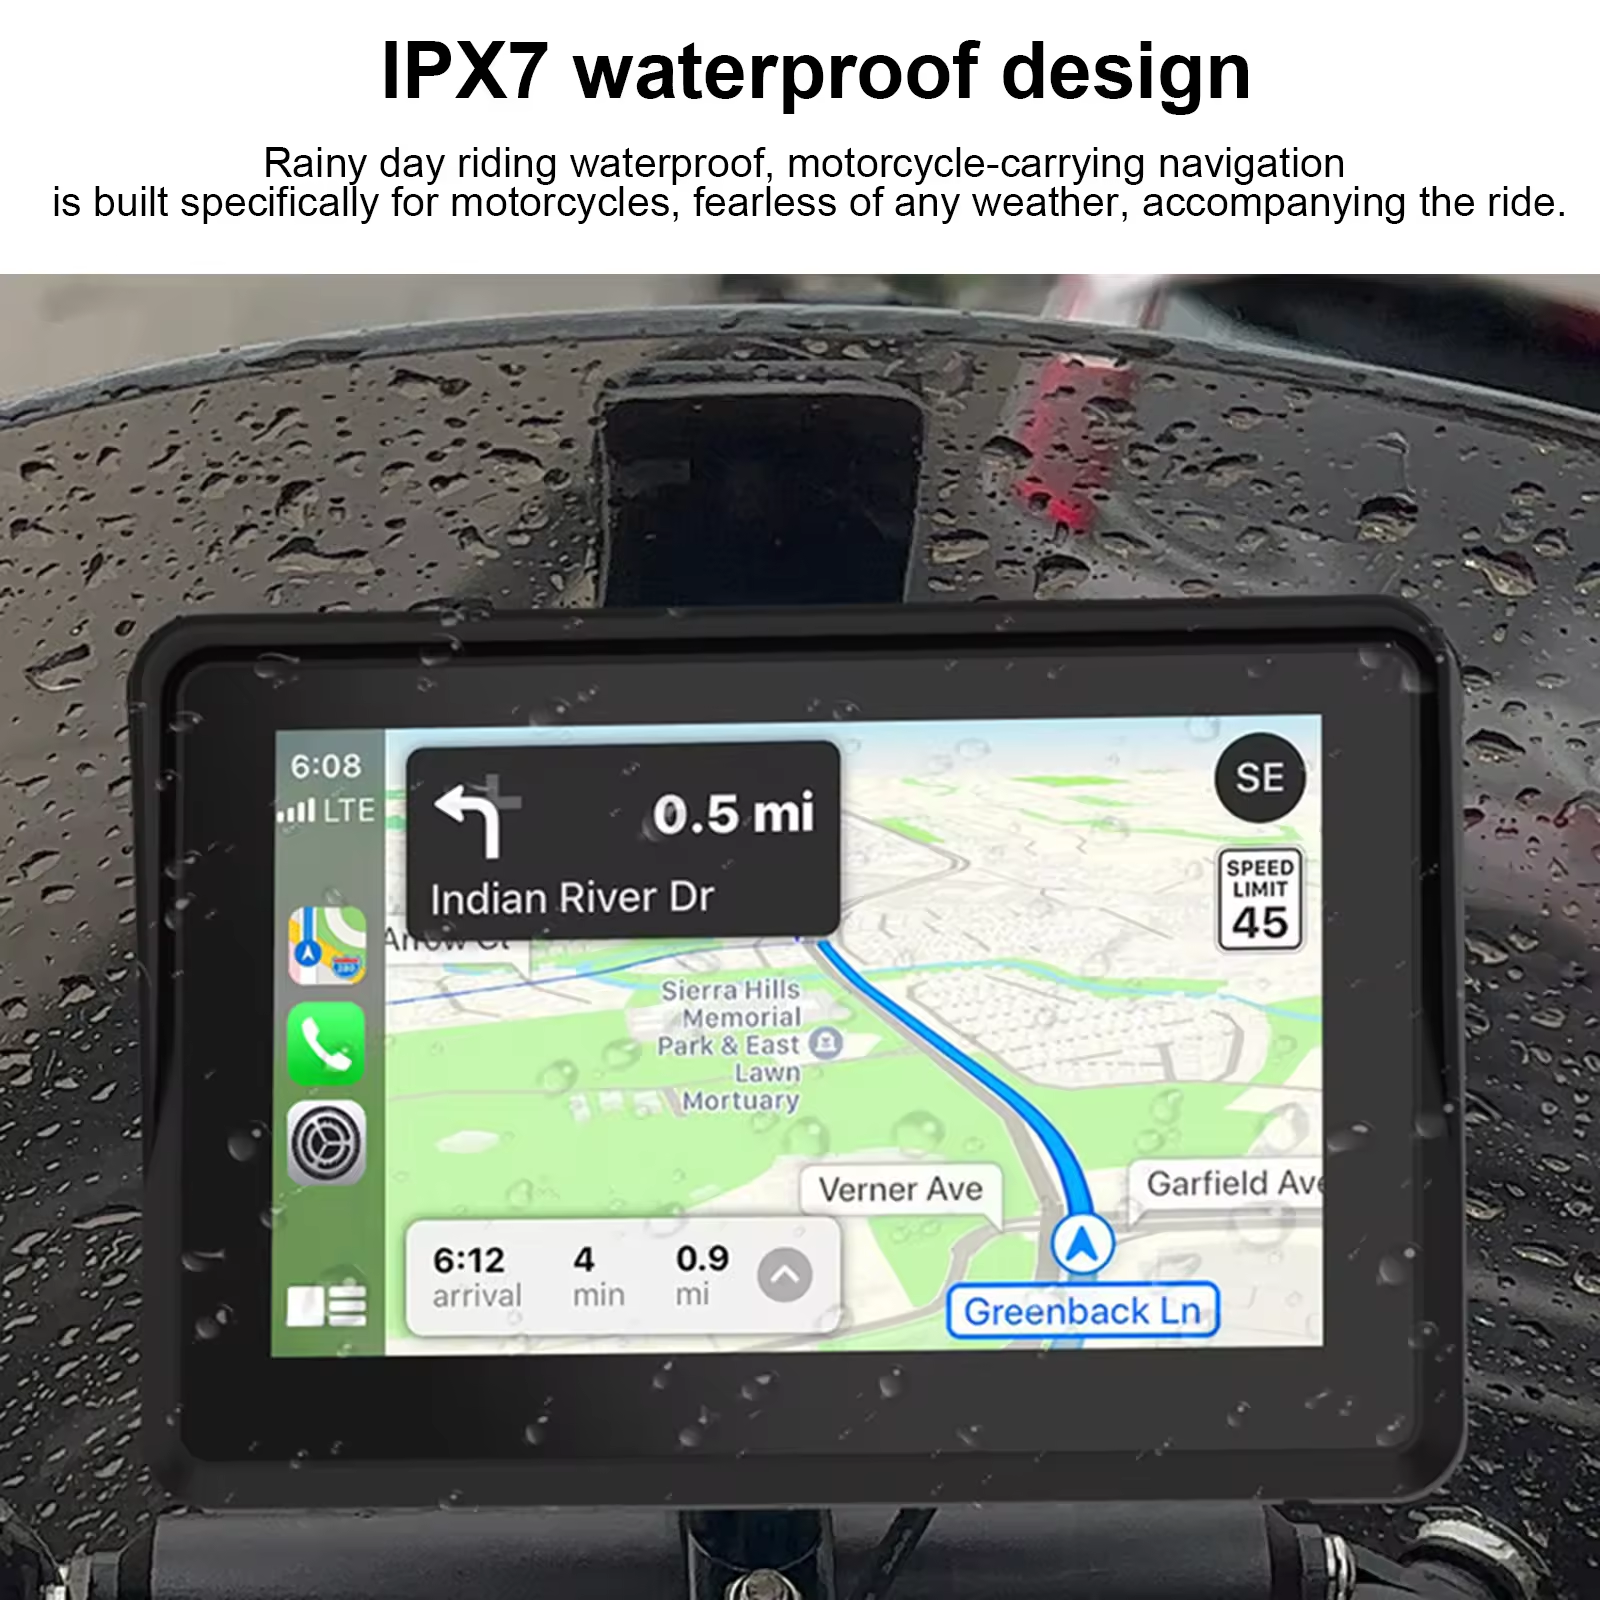
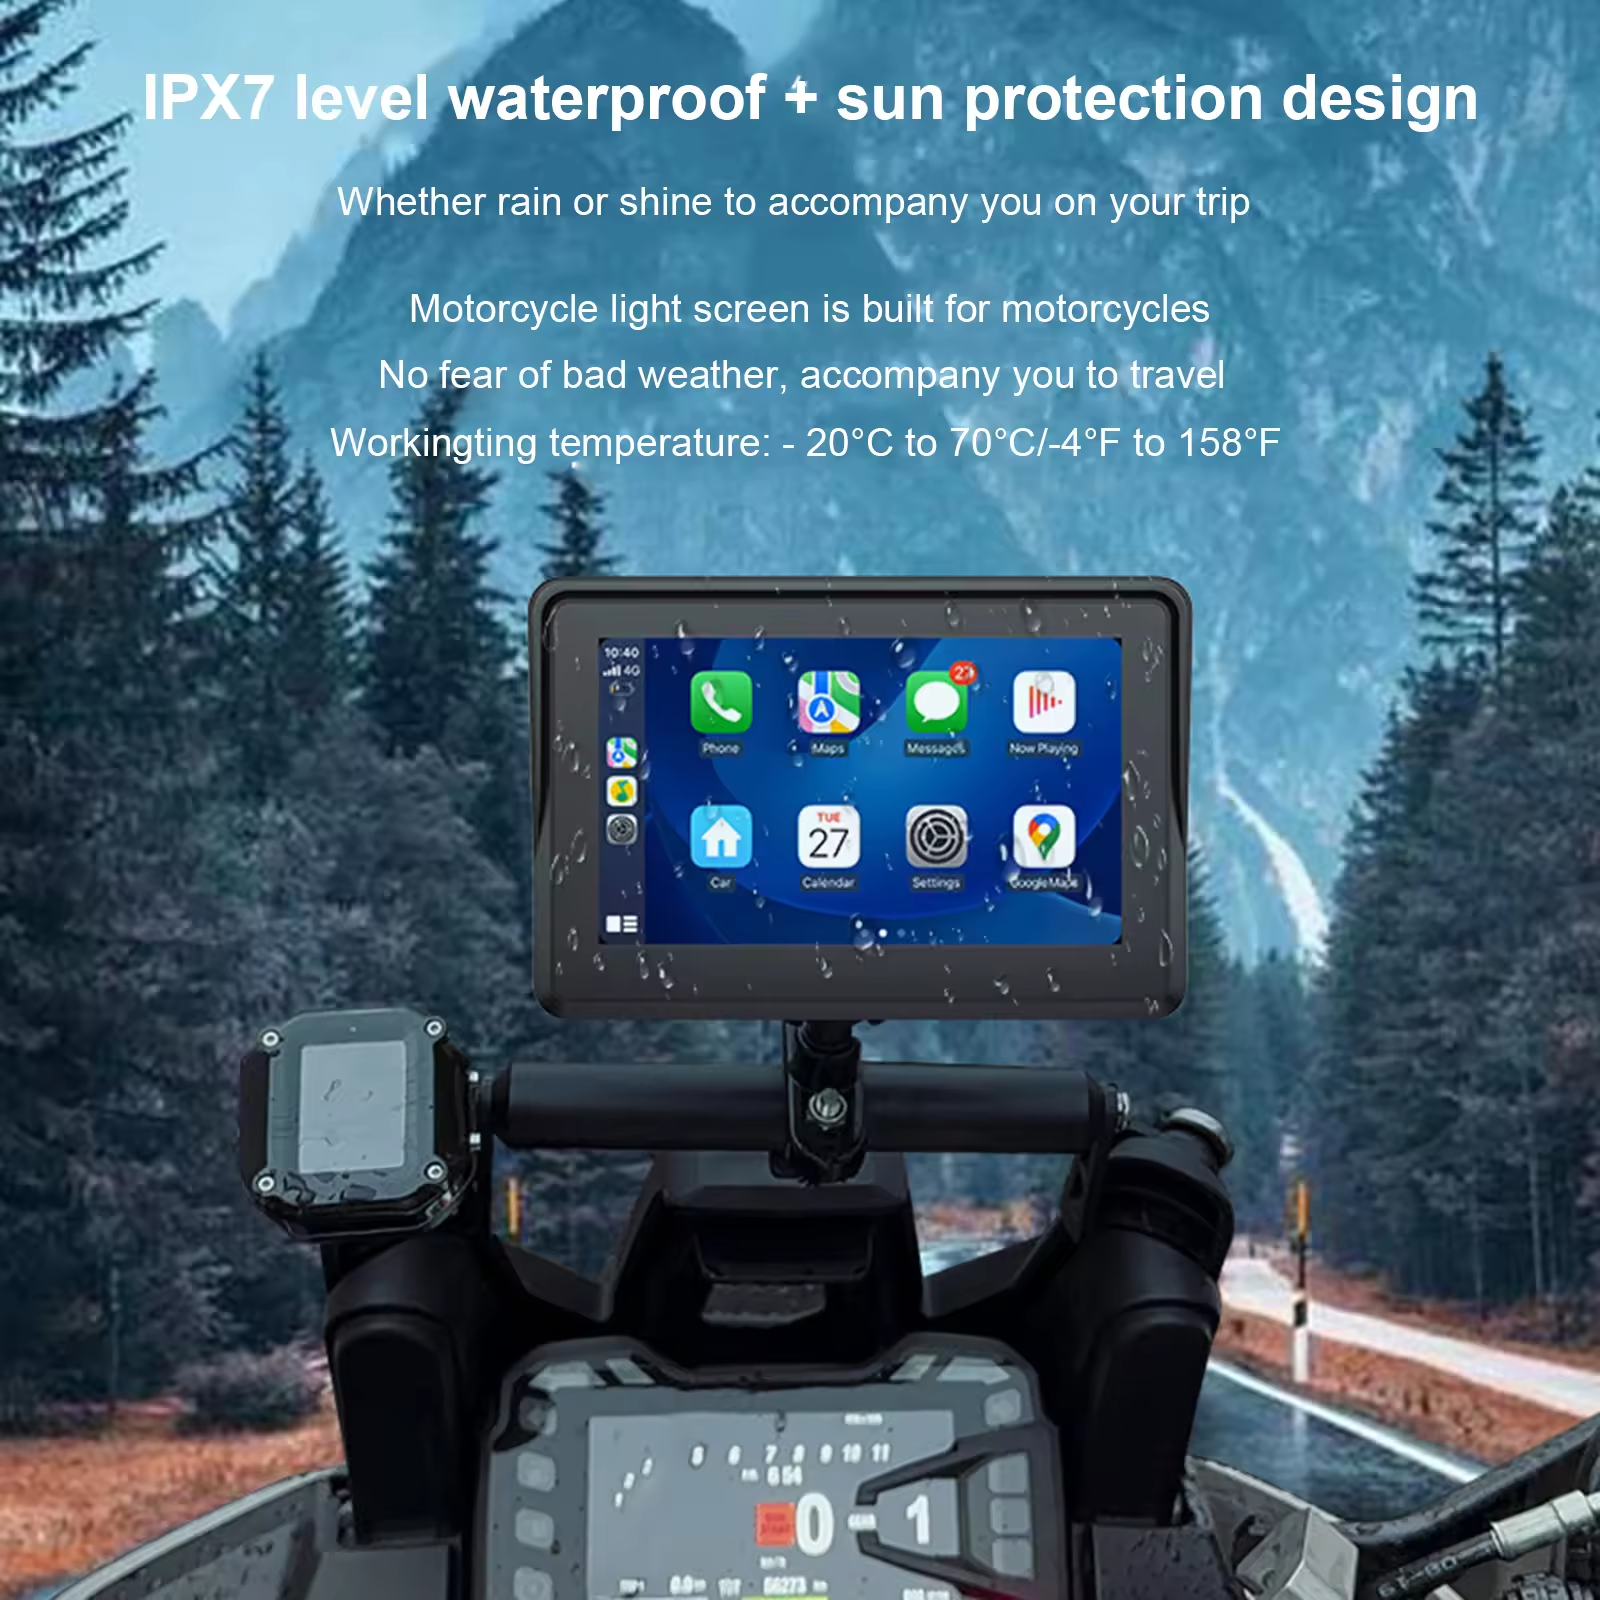
With an IP67 waterproof rating, the Motorcycle CarPlay Screen is built to perform reliably in wet or humid conditions. Whether you're riding through rain or on muddy trails, it maintains top performance without any compromise.
Dual Bluetooth Functionality
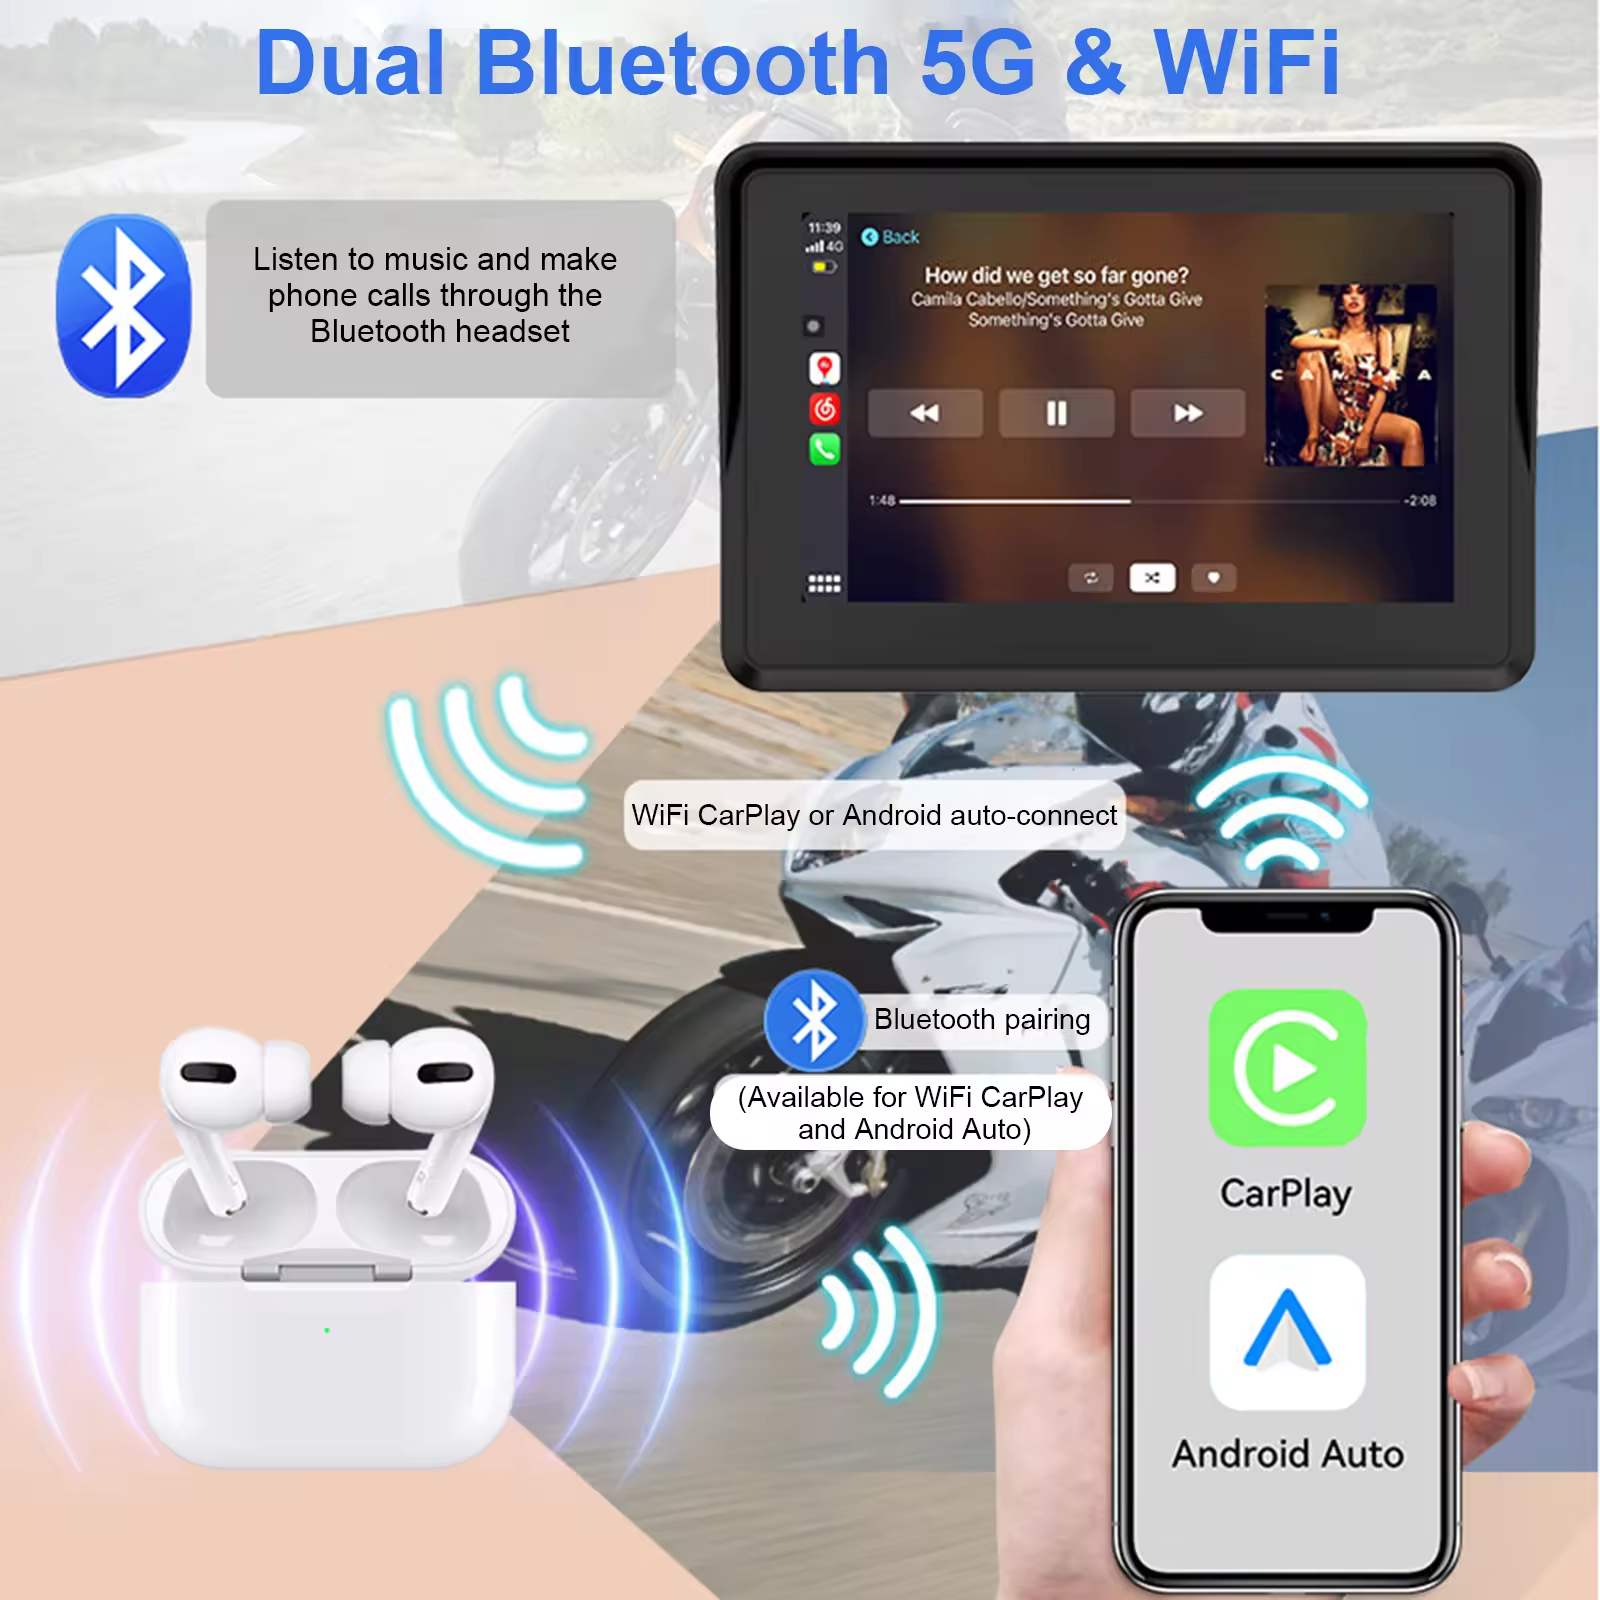
The Motorcycle CarPlay Screen supports dual Bluetooth connections, allowing you to connect both your phone and a Bluetooth headset or speaker simultaneously. This means you can take calls and enjoy music without needing to switch between devices, ensuring a smooth and uninterrupted riding experience.
Built-in EQ Music Adjustment
Featuring a built-in EQ (equalizer), the Motorcycle CarPlay Screen lets you customize the bass, treble, and midrange to your preference, ensuring that your music sounds perfect, whether you’re listening to deep bass beats or crisp high notes.
Wide Compatibility
The Motorcycle CarPlay Screen is compatible with a wide range of motorcycle models and is easy to install without the need for complex steps. It also works seamlessly with various audio devices and Bluetooth headsets to ensure optimal sound output.
Real-Time Navigation & Route Planning
Utilizing CarPlay’s map functionality, the Motorcycle CarPlay Screen provides real-time navigation, helping you avoid traffic and find the best routes. Whether for short commutes or long road trips, it offers accurate route guidance.
Hands-Free Bluetooth Calling
With an integrated microphone and Bluetooth connection, you can take calls through voice commands while riding, without needing to reach for your phone.
Carlikeit MT2 Motorcycle Wireless Carplay&Android Auto Screen
- Regular price
-
$89.99 - Regular price
-
$115.95 - Sale price
-
$89.99
FAQs
Got a question? We are here to answer
This is a great safety monitoring setup with Carplay and GPS. The Tire Pressure Monitoring System is decent, Seems to be fairly accurate within 1-2 PSI. The cameras are just ok. there is no image stabilization at all, so on a Twin motorcycle with no balance shaft, dont expect much clarity. Carplay does work extremely well, but hard to pair again if you manually disconnect it on your phone. Turning on and off is kind of weird. you do have to hold the power button for 5+ seconds, and there is no notification that it is powering down, other than a blinking led shuts off on the lower right corner. I did not find the camera adjustment yet either to turn the picture 180 degrees if it needs mounted bracket side down on the camera. I also wish this had a better interface. Tire pressure is only displayed on the dashboard, you have to go back home and select carplay for iPhone control or GPS as there is no quick change between the two. This is a good unit, but doesn't have the functionality I'd expect at this price point. a little less user friendly than expected too.
The camera function is really cool I put on in the front and back of my motorcycle and the facts that the AirPlay is wireless is another plus! The interface is very easy to use!
Unit mostly works as intended, been having trouble with TPMS, think they sent unit with dead batteries, also unit resets at lest once every trip and connecting the app to the unit is a PIA when using android auto, you need to disconnect from Android auto then try to connect the app to download the videos which are good quality. Over all Im satisfied with the unit and like having the split screen with map and audio.
Its been doing good for the last few months since I brought it for my Yamaha MT-03 2022 but it's times were while trying to turning on the device it doesn't do it of takes a long time, and now when I arrived to my job today as soon as I get down the bike the screen came off our of nowhere, I'm definitely scared of using this screen during the Florida rainy days :/
At first I was a little disappointed with the instruction manual but then I realized, every motorcycle or other vehicle is going to require a custom installation. I am a mechanical guy and I understand and own the right tools to do this installation. Complete installation still took me about six hours although I made sure it was professionally done, every wire was hidden, secure and the cameras are aimed and level when the bike is vertical. I installed this on my Kawasaki Vulcan motorcycle.
I removed the windshield, removed the seat and lifted the gas tank about six inches to give me room to run the wiring and get to the battery. I also removed the side panels and rear tail light so I could run the rear camera wire along side that tail light wiring harness and mount the rear camera to the rear license plate bracket. I started mounting the unit to the center of the handlebars. The supplied mounting bracket would not tighten on the handle bar even with all of the assorted spacers. I literally tried every combination but the supplied mount would absolutely not tighten enough to keep the unit from moving. Luckily I ended up using a completely different mount that I already owned. This was an all aluminum mount that was more robust and allowed more adjustments for the final placement.
Once I had the unit mounted, I powered it up with a USB power block using the cable that was supplied with the unit. This allowed me to view, position and aim the cameras and view them through the 5 inch screen. I modified the front camera bracket so I could mount it to the underside of the front fork. This way the camera turns with the fork and is always pointed in the same direction as the front wheel. I then mounted the rear camera. I made my own bracket with two very small L brackets and used the rear license plate bolt to hold it in place.
Running the front and rear wires was fairly straight forward but was time consuming running the wires under the gas tank, under the rear fender and keeping them neat and secure coming out of the front unit. After everything was wired, I powered up the unit and synced it to my iPhone. This was very simple and connected immediately. Once I connected it to my phone for the first time, it automatically reconnects every time the unit is tuned on which is super convenient. The unit connected automatically to a satellite which sets the time and will allow for the speedometer to be accurate. Its not motorcycling weather in Minnesota so I didnt put on the tire pressure sensors yet, road test or complete the rest of the setup on the unit.
This unit offers a lot of important information on its own and even more when using Apple CarPlay. The screen is bright and clear and very responsive to touch commands. There are a lot of custom settings internally that can easily be done when setting up. The cameras are both wide angle, crystal clear and rotate on the mounts so the angle can be set to match the bike. I had a problem with the front camera showing the image backwards. The cameras were not labeled front or rear but when I switched them it took care of the problem. As I said, I have not road tested this because of the weather so I thought it would be helpful to go through the installation. Final thoughts, this is an impressive unit for the price. The handlebar mount was really the only issue I had and by wrapping electrical tape around the bar before mounting, I think that would have probably taken care of the sloppy fit. The front and rear cameras are automatically on a loop recording which could be priceless in an unfortunate accident. I am very happy with this unit and Im looking forward to using this next summer .